Are you tired of constantly recreating the same content on your WordPress website? Do you want to streamline your workflow and improve efficiency? Look no further than reusable blocks! This powerful feature in WordPress allows you to create and save content that can be easily reused across your website. Whether it be a call to action, a pricing table, or a testimonial box, reusable blocks can save you time and effort in creating consistent and professional content.
In this blog post, we will explore the simple steps to creating reusable blocks on your WordPress website and how they can benefit your workflow. Keep reading to find out more!
What is a Reusable Block in WordPress Block Editor?
A reusable block in WordPress Block Editor is a content block that can be saved and used individually in the future. It is a helpful feature for those who often use the same content snippets in their WordPress posts and pages. Reusable blocks allow users to save time and effort, as they don’t have to repeatedly write the same content.
The necessity of creating reusable blocks in WordPress
Creating reusable blocks in the WordPress block editor can be an excellent option for bloggers who repeatedly use similar content across various posts and pages. Reusable blocks not only save time but also help maintain consistency in the overall layout of the website. For instance, bloggers may often feel the need to add call-to-action buttons, social media links, or similar texts in multiple articles. Reusable blocks can greatly simplify this process.
How to create a reusable block in WordPress block editor?
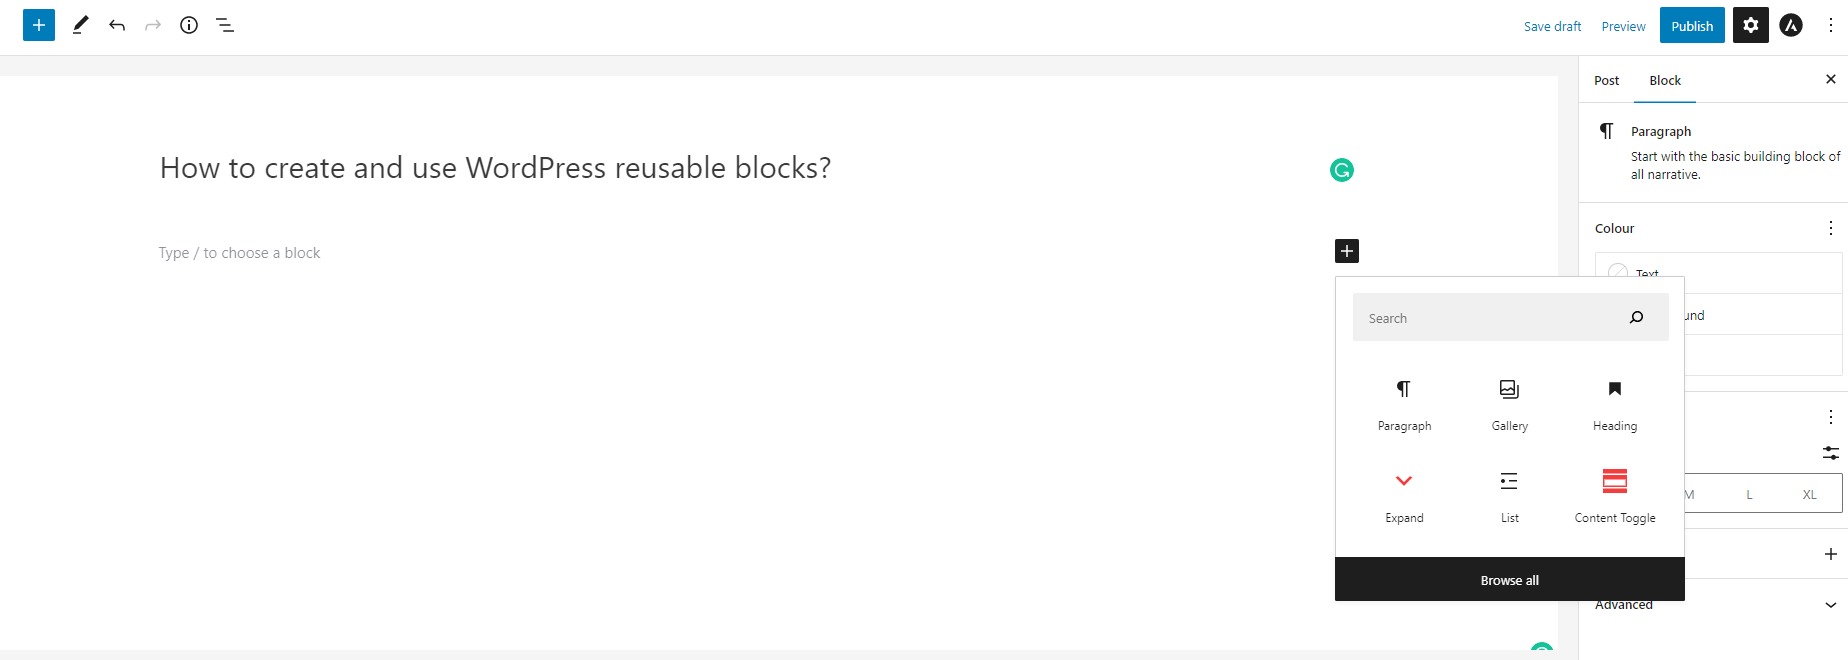
To add a reusable block, create a new post or edit an existing one where you want to create the reusable block.
In the block editor, let’s click the “Add Block“(+) icon and select the block that you want to add, and create the reusable block.
For instance, we add the Gallery block and insert as many images as we want into our gallery.
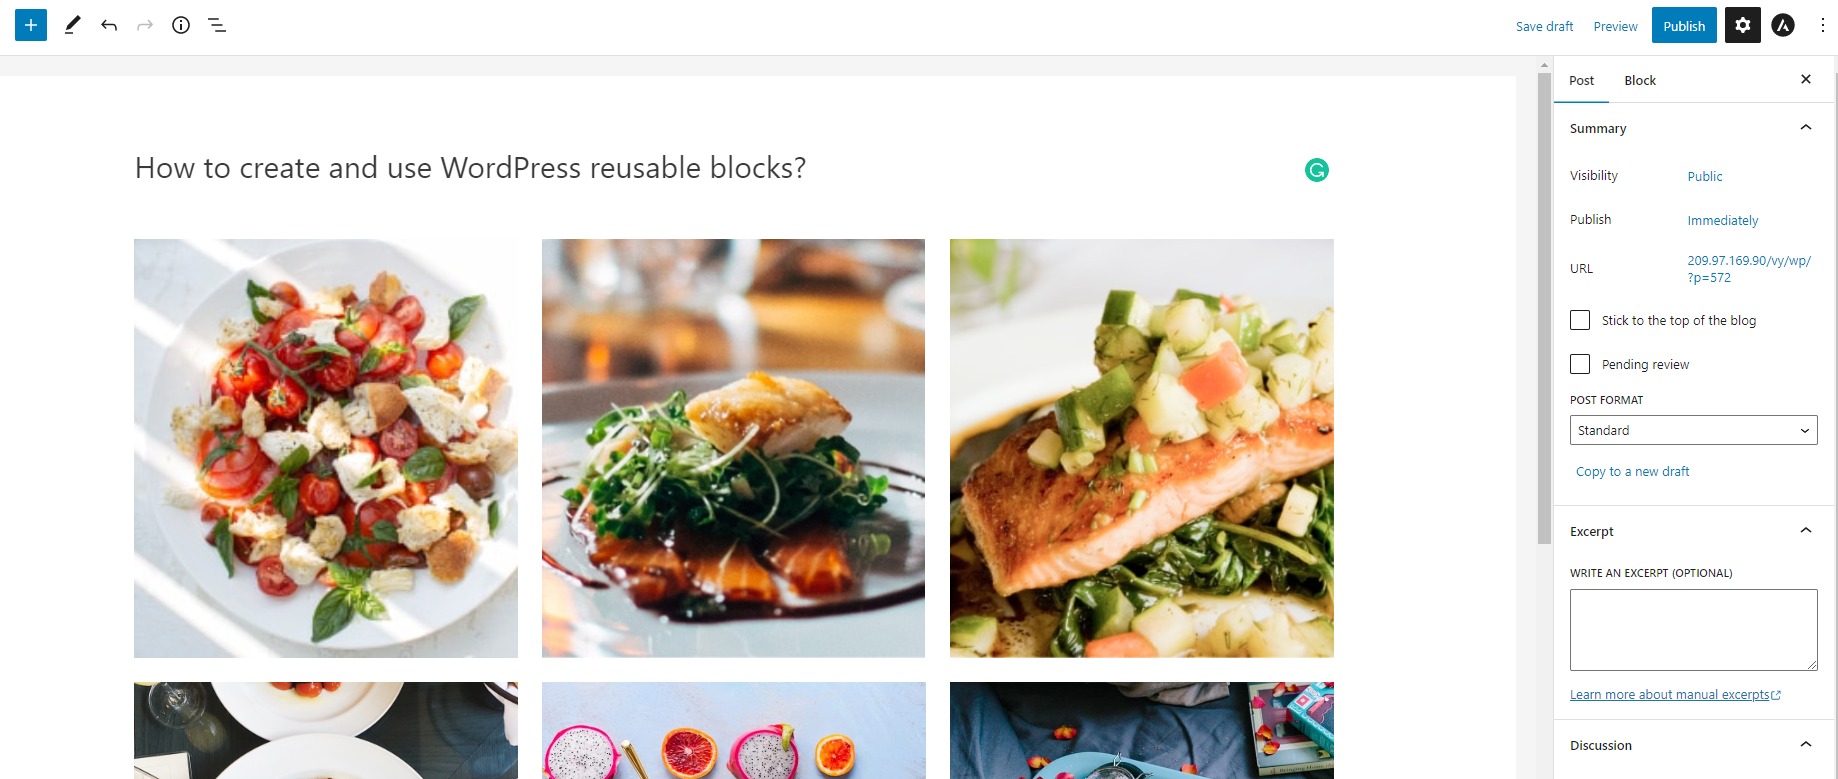
In addition, you can take advantage of a lot of useful customization options in the right sidebar to format your images and add captions as you want.
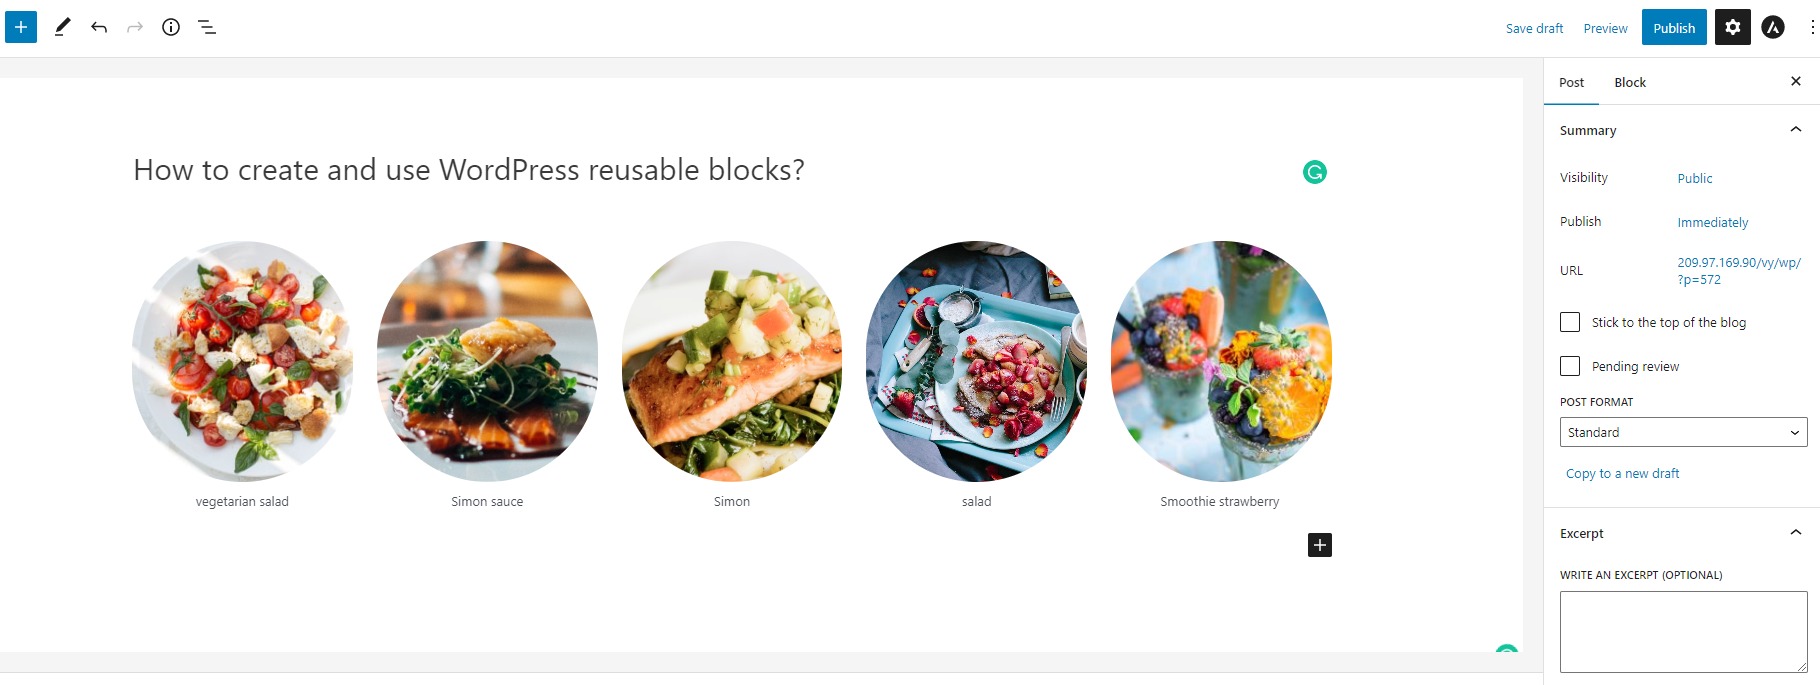
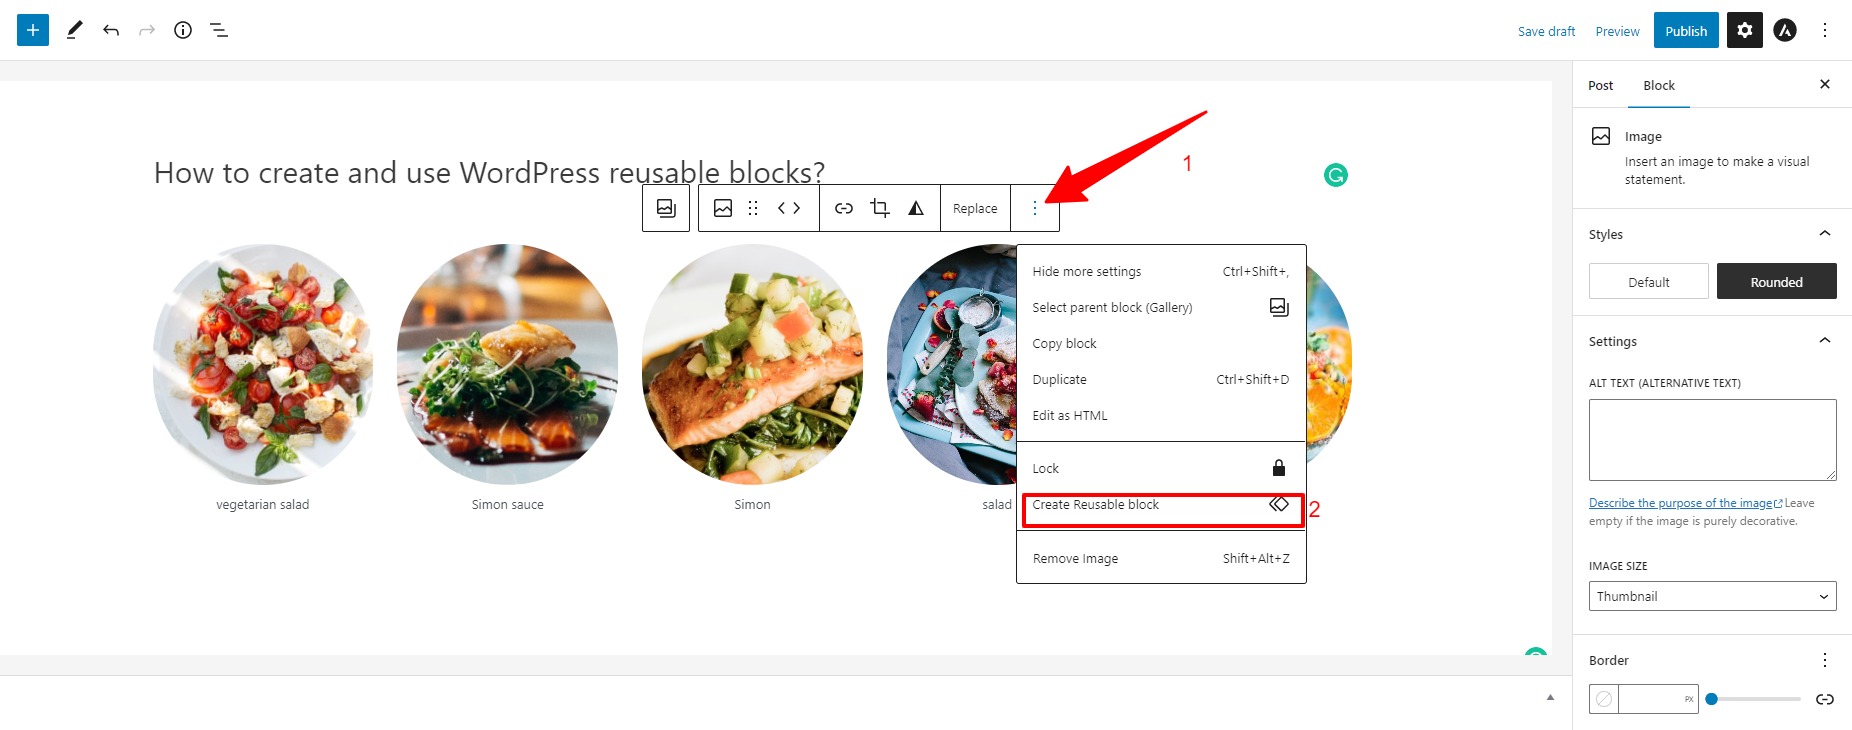
When you’ve designed the block, now you can add it to reusable blocks by clicking on it. Then click on the “three dots” menu (more options” in the toolbar and choose the “Create Reusable Block” option from the drop-down menu.
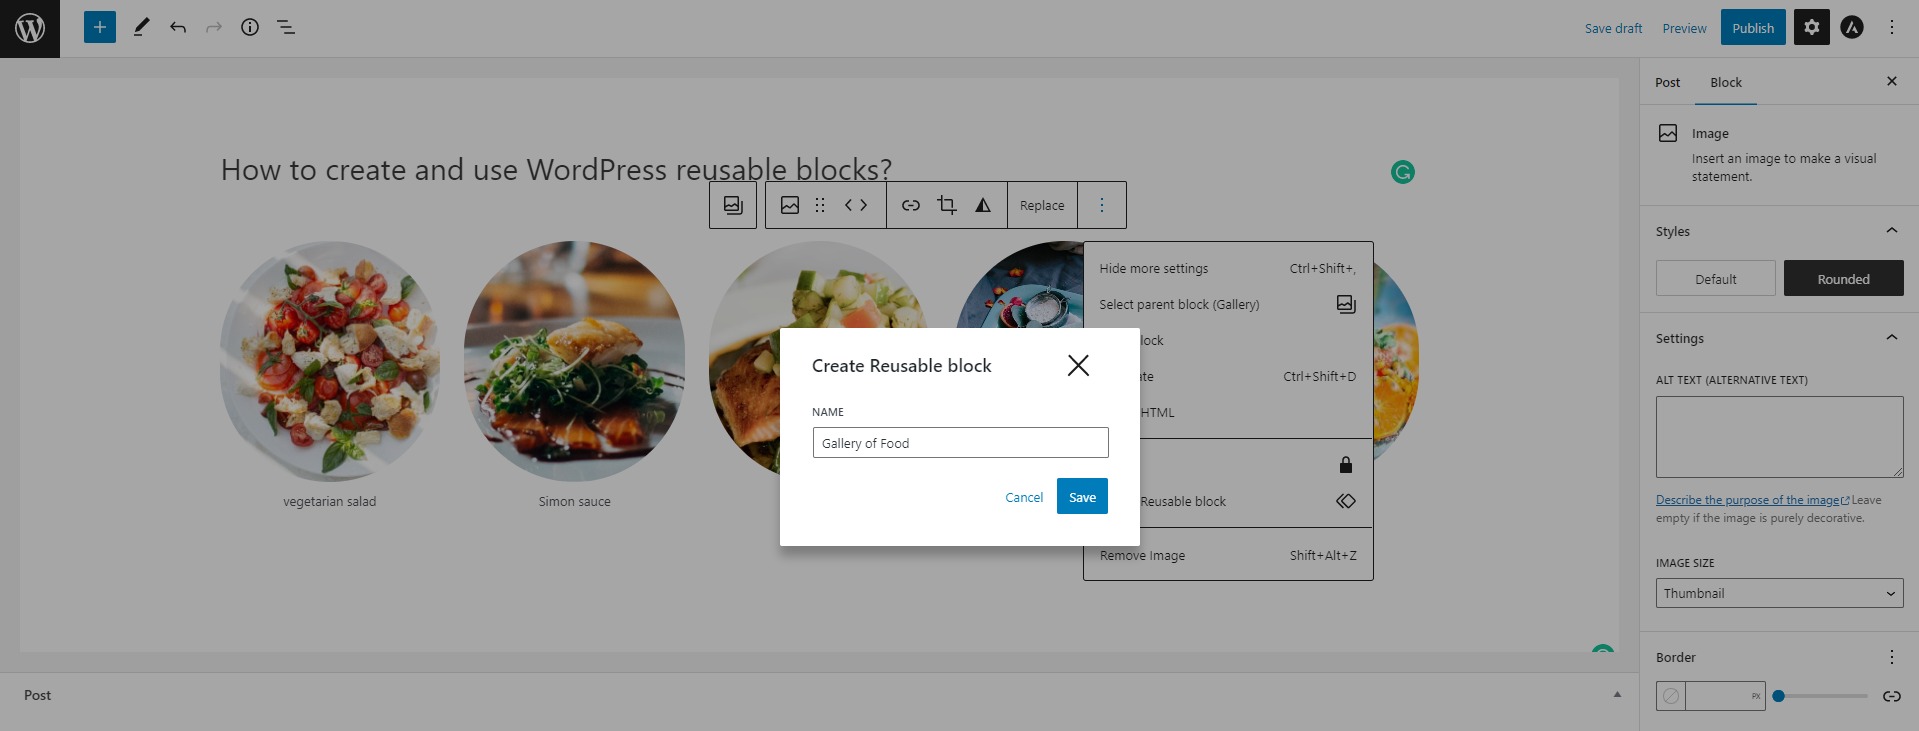
Next, a popup will appear where you can give a name for your reusable block. We recommend entering a descriptive name that will help you easily identify it later.
Now that you’ve created a reusable block, you can use it in any other post or page on your WordPress site.
How to add reusable blocks to WordPress posts/pages?
Now, you can use your reusable blocks to add them to WordPress posts/pages effectively. To do that, you can follow our tutorials below.
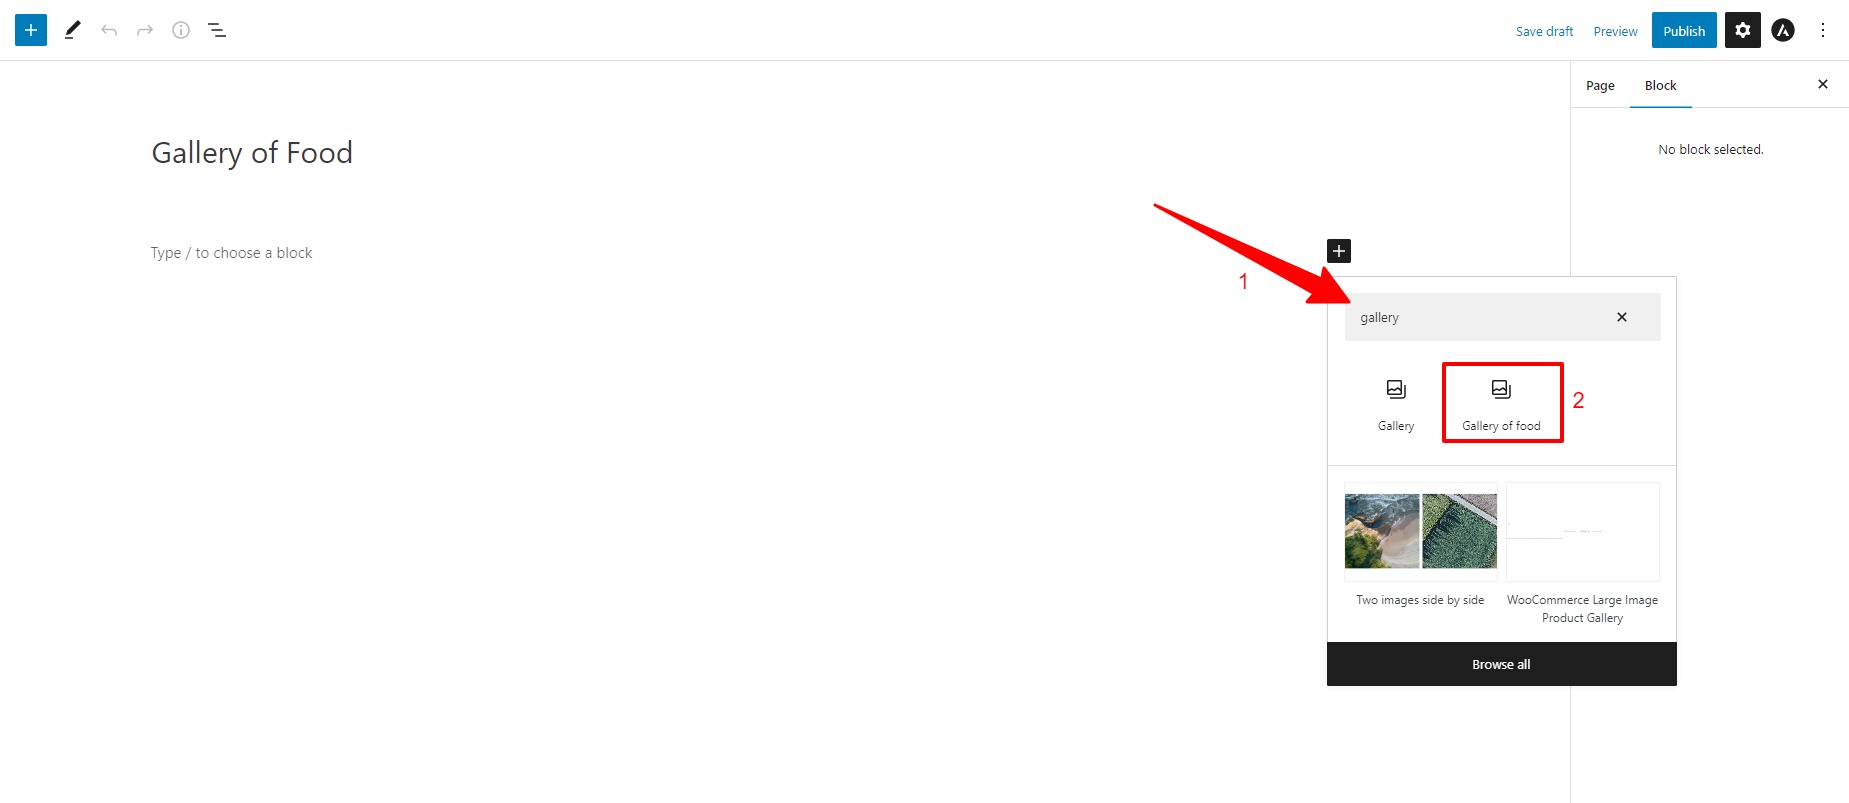
First of all, you need to open any existing post/page or create a new one where you want to add a reusable block.
Then, click on the “plus”(+) icon in the editor and search for the name of the reusable block that you saved before. Let’s click on it to add it to your content.
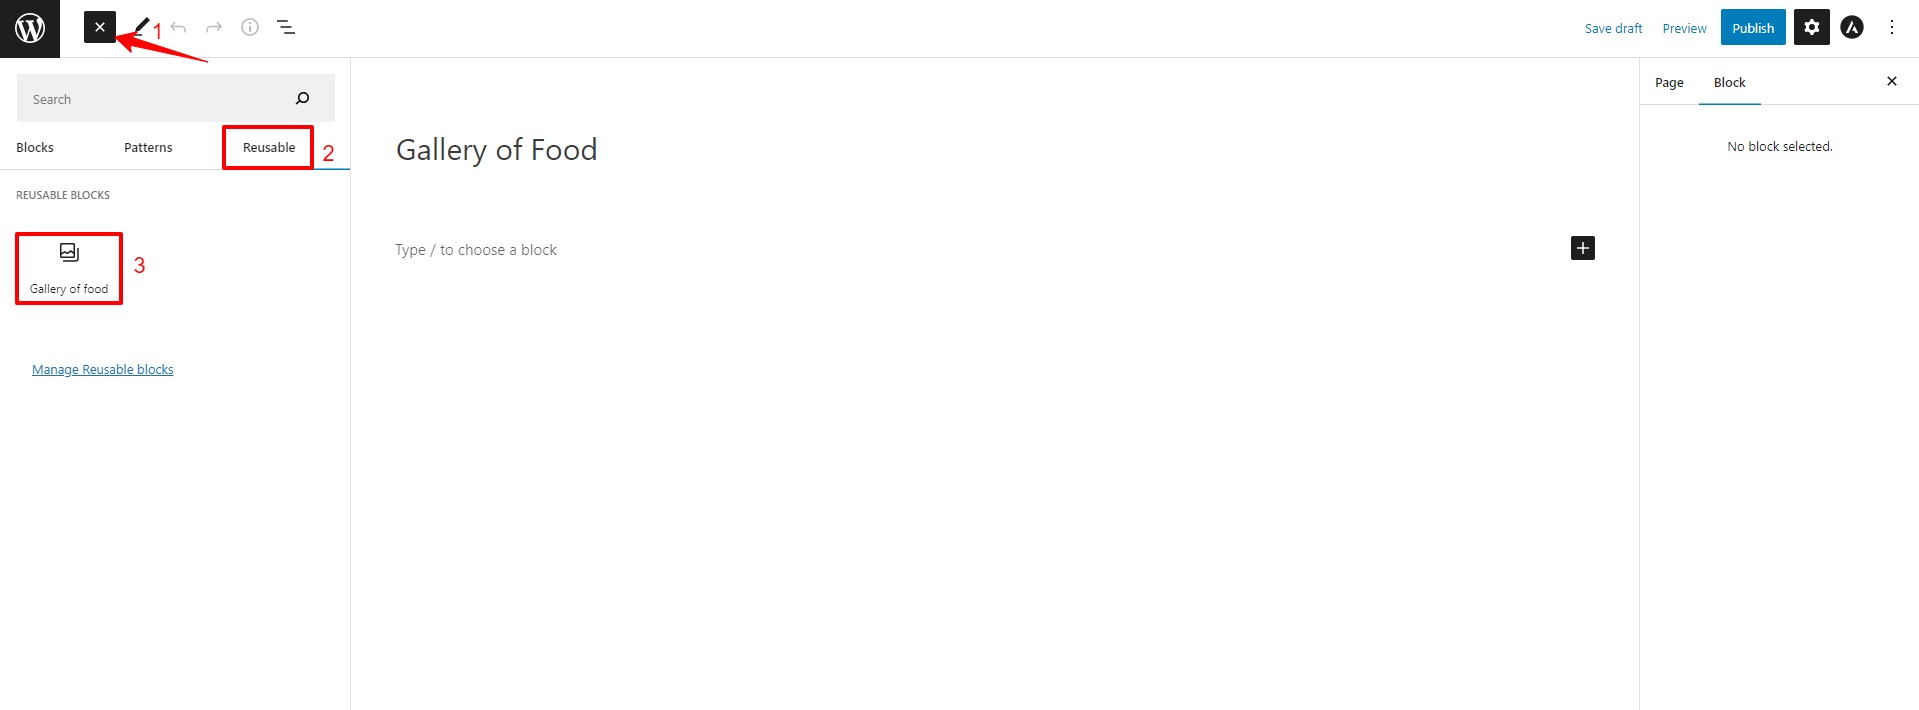
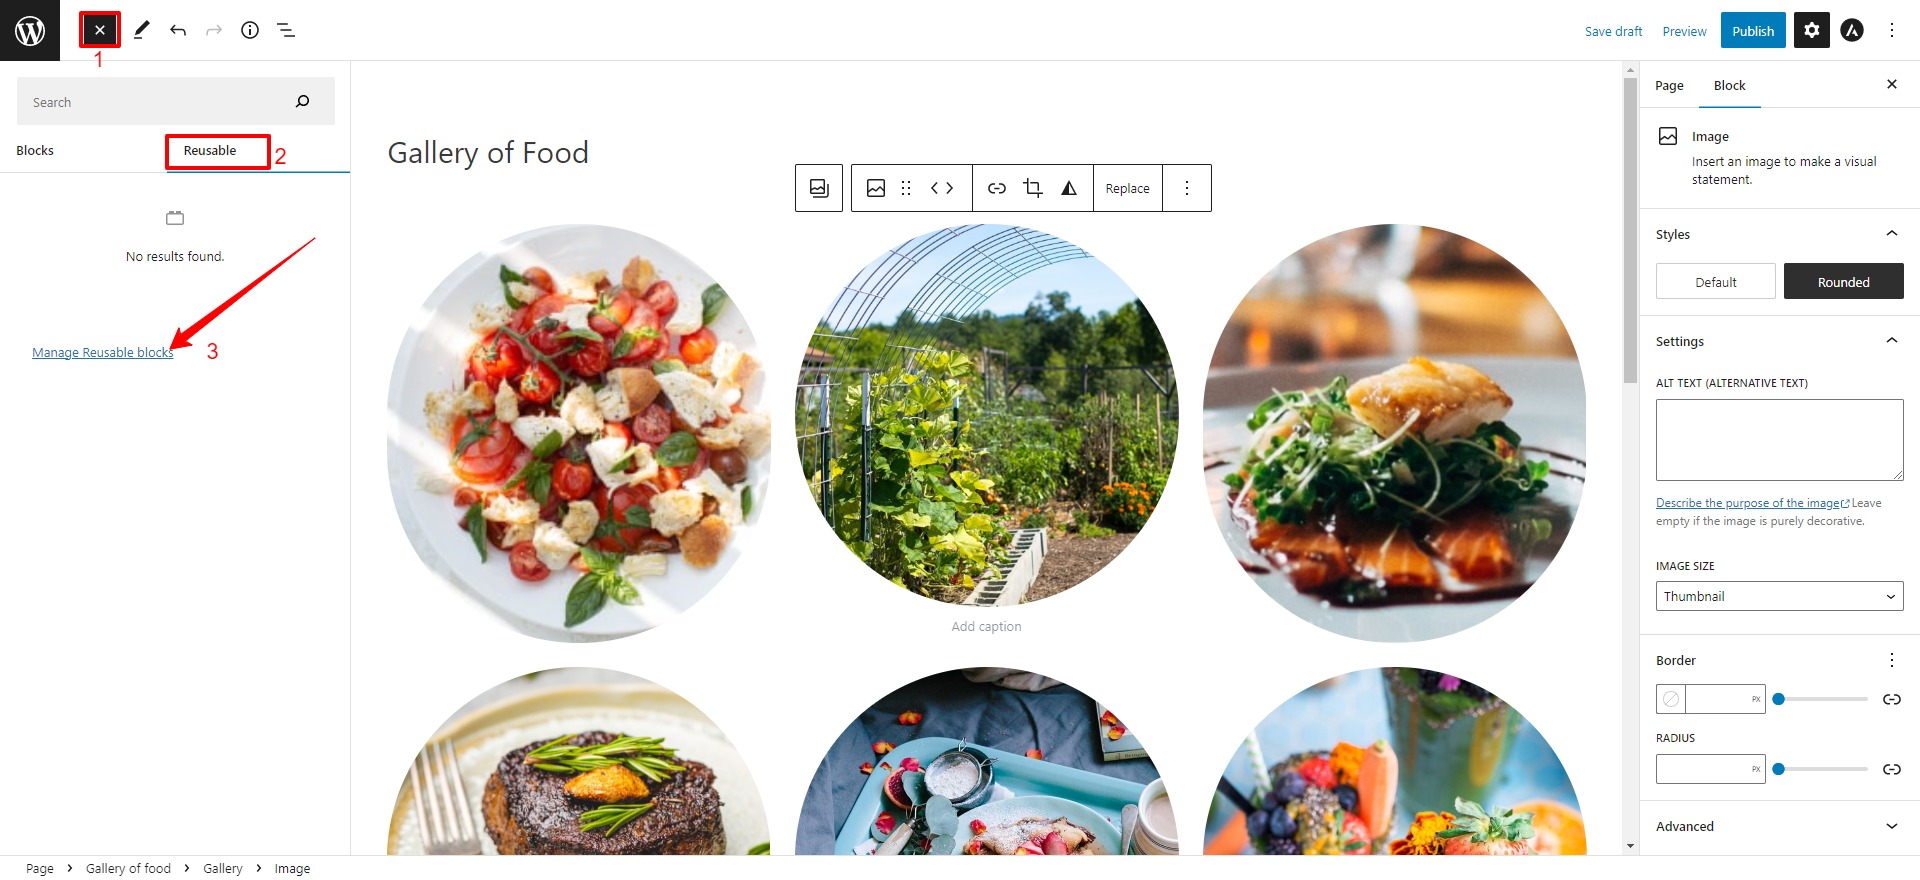
Moreover, if you want to view all of your reusable blocks, you can click on the “+” icon in the top right corner of the screen. Then choose the “Reusable” tab that shows you all of the reusable blocks you’ve generated. From here, you can edit, delete, or export a reusable block for use on another site.
Now, you can quickly insert them into your pages/posts with a few clicks.
How to Export and Import reusable blocks in WordPress block editor?
Further, WordPress also comes with the export and import feature for reusable blocks. This feature allows you to create a library of frequently used blocks that can be easily reused across multiple posts or pages. As a result, you can save time and effort in recreating the same elements instead of starting from scratch.
Now, in order to export or import reusable blocks, simply click on the “+” icon at the top left corner of the screen. Next, select the “Reusable” tab and click on the “Manage Reusable Blocks” link. This will bring you to the page where you can view all reusable blocks you’ve generated.
Now, if you want to export or import reusable blocks, let’s click on the plus(+) icon on the left side of the screen. Then, click on the “Reusable” tab and click on the “Manage Reusable Blocks” link.
This will take you to the page that displays all reusable blocks you created.
Let’s hover over the reusable blocks, you will see three options including “Edit“, “Bin“, and “Export as JSON“.
If you want to export your reusable blocks, simply click on the “Export as JSON” option. This will download a JSON file including the exported reusable block to your computer.

In contrast, there is an “Import from JSON” button that allows you to choose the JSON file from your computer and then upload it to your WordPress site.
The bottom line
Creating reusable blocks in WordPress can greatly enhance content productivity. With this feature, bloggers can easily save frequently used blocks such as author bios, calls to action, and signup forms in one location for later use. Hopefully, our blog can help you properly create and use reusable blocks in WordPress block editor. If you have any queries, please leave a comment below.
Further, it is a great idea to visit our website and discover tons of stunning, free Gutenberg Themes.


